DIY Glitter Mason Jar for Tealight Candles, Pencils & More
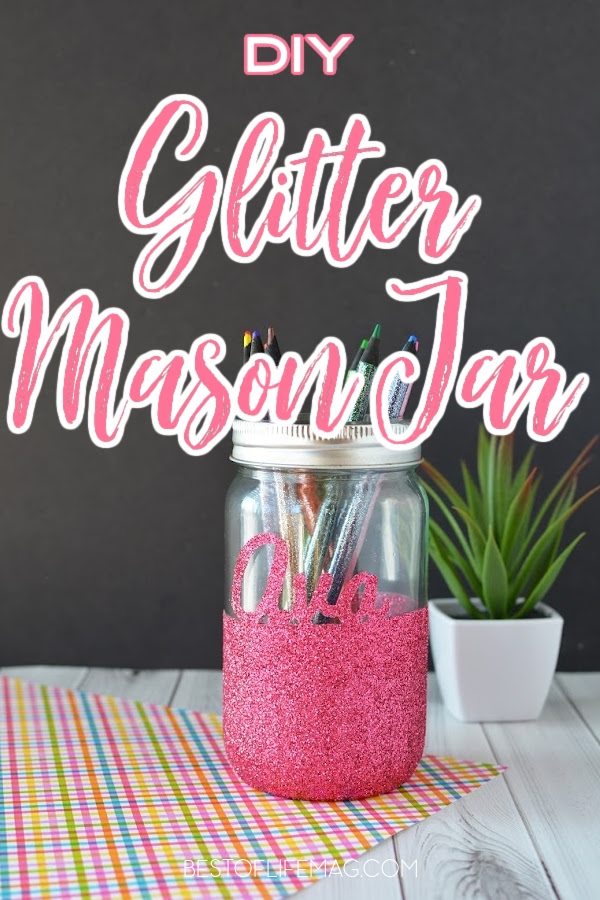
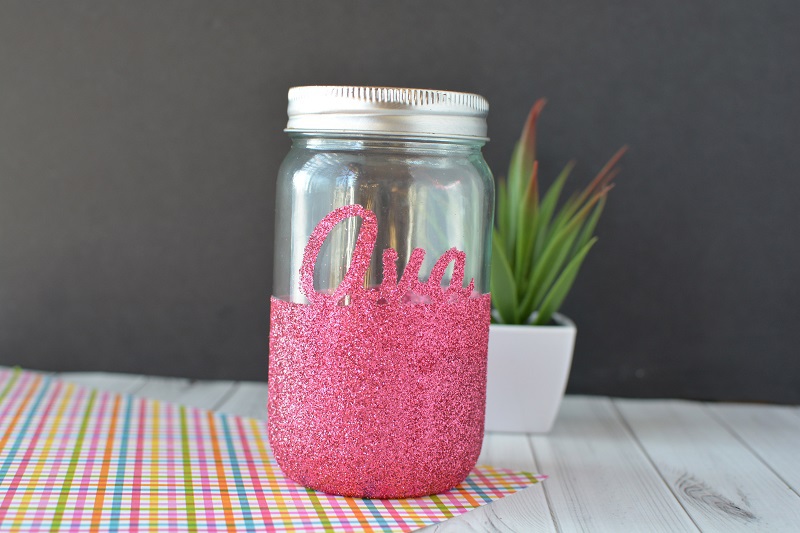
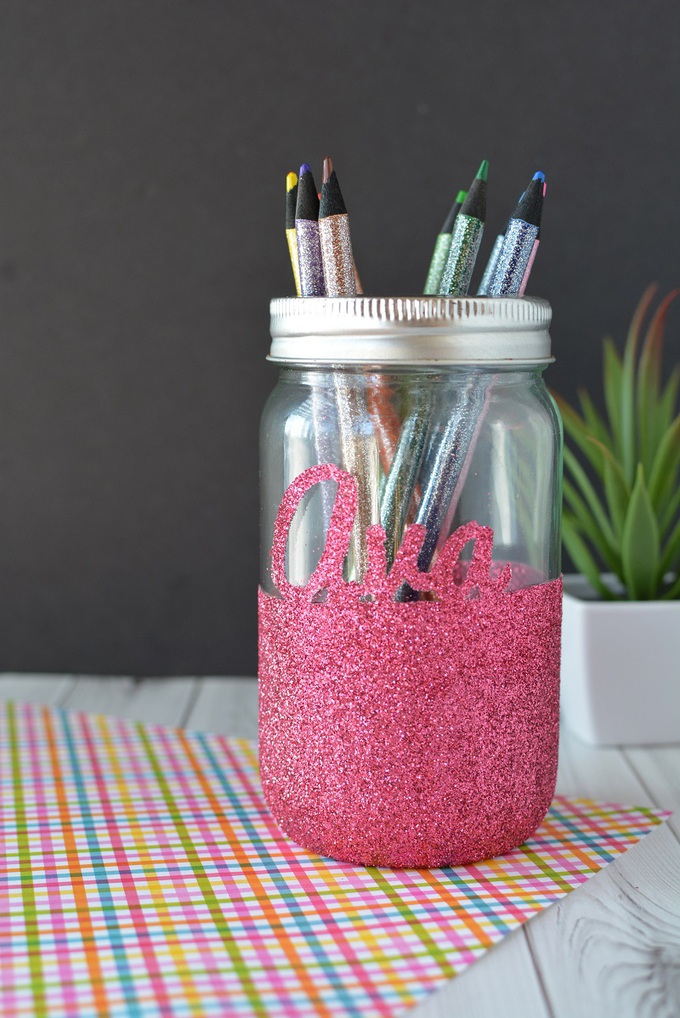
I hope you are ready for some seriously cute glitter fun today! This DIY Glitter Mason Jar craft is perfect for making gifts, party favors, and more. These versatile jars look great and they are so much fun to create. Shown below holding craft pencils, but you can make a DIY Glitter Mason Jar to hold any number of things.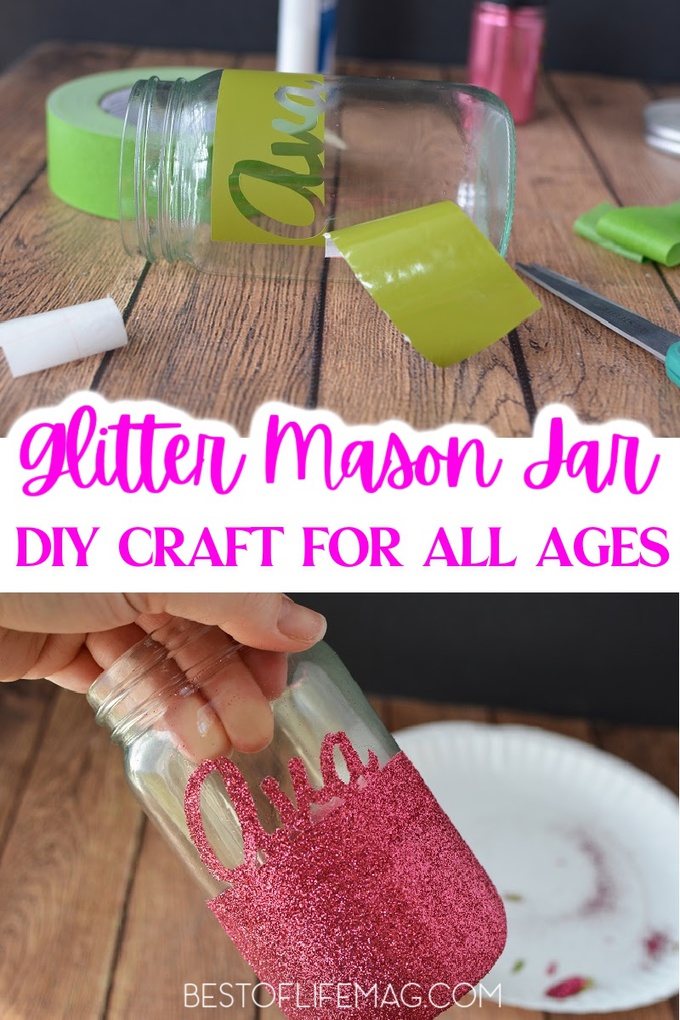
You can even make a bunch of matching jars to hold your crafting supplies, just swap the name out for the label of what goes inside! Add some sparkle to any room with this fun DIY Glitter Mason Jar! It can hold pencils, tealight candles, or just about anything you want!
If you love DIY projects then you are definitely in the right spot. We have so much fun doing family-friendly AND adult crafts. This DIY Glitter Mason Jar project is just one of the fun ways we express our creative side at home. You will need some supplies for this project so let’s make sure you’re all set!
DIY Glitter Mason Jar for Tealight Candles, Pencils & More
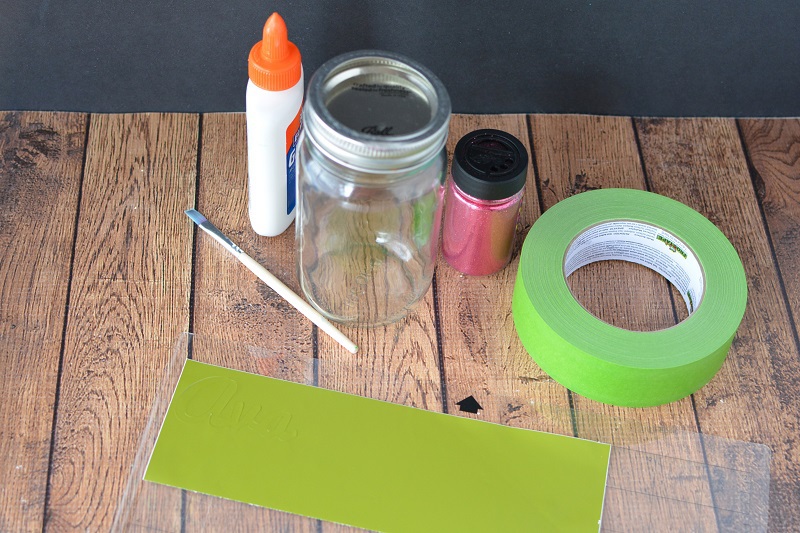
Vinyl
Machine to cut Vinyl
Transfer Paper for Vinyl (very helpful but I’m sure you can do it without or use contact paper which is much cheaper!)
Painter’s Tape
Extra Fine Pink Glitter
White Glue
Paint Brush
Clear Mason Jar
Utility Knife
Tips for Making a DIY Mason Jar
A few notes about choosing the best mason jar and materials for your DIY mason jar projects. I like to find a mason jar that is smooth on one side so that I don’t have to deal with the bumpy glass. And if you can’t find a “mason jar”, that’s okay.
You don’t actually need a mason jar to do this project; you could use almost any glass jar. Extra fine glitter works best for this project with the finer script text. If you don’t have a machine to cut vinyl, purchase vinyl letters and use the backing as your stencil.
How to Make a DIY Mason Jar with Glitter
Wash and dry your jar to remove all oils. Try not to handle your jar too much in order to prevent the oils from transferring to the jar from your hands.
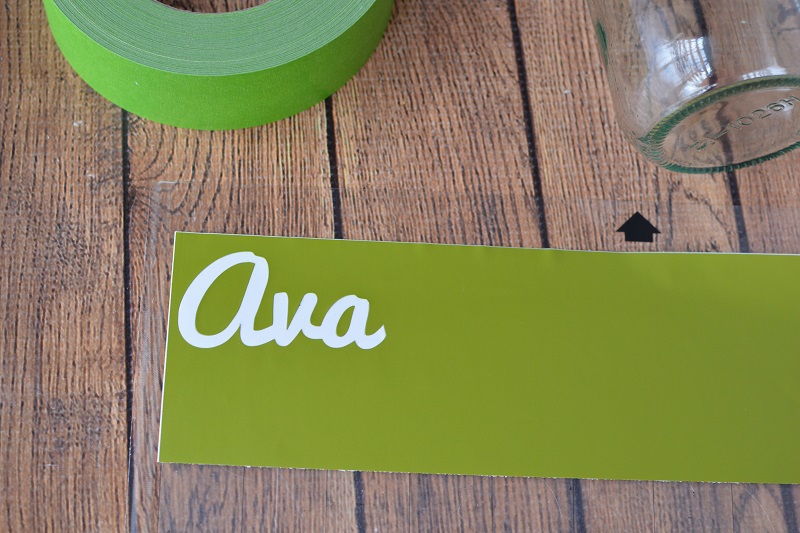
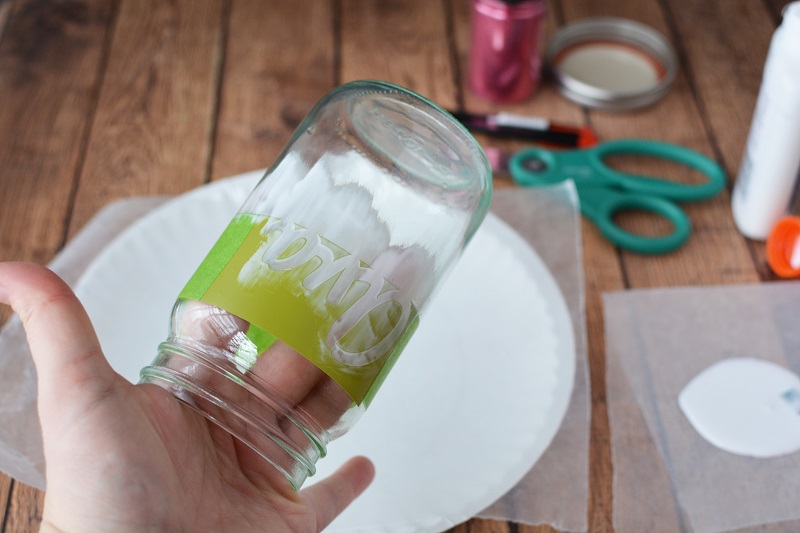
Cut your vinyl with a cutting machine. Remove the text to create a stencil outline.
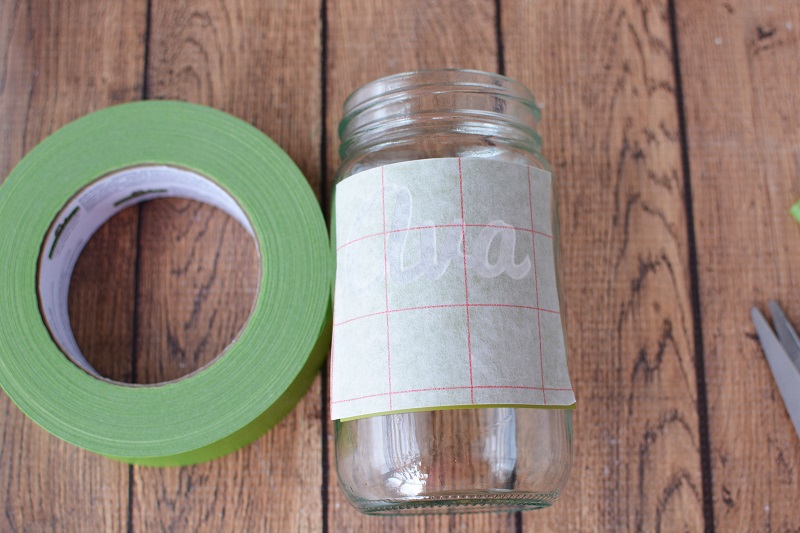
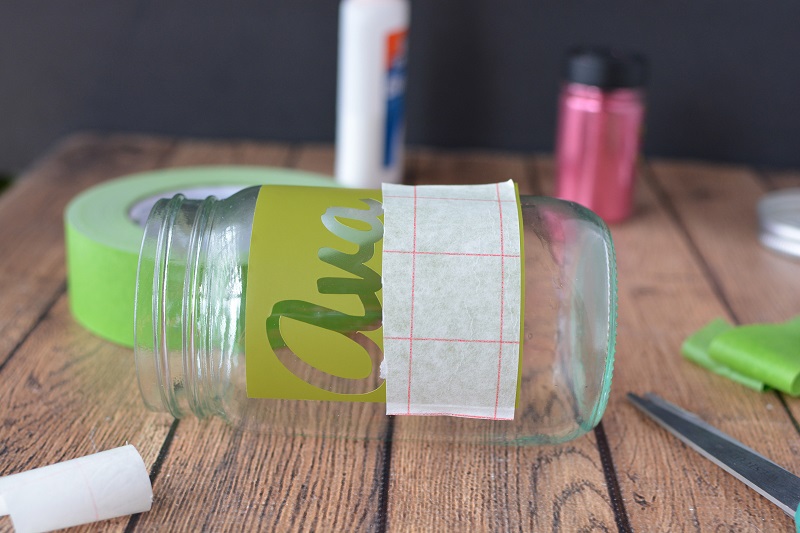
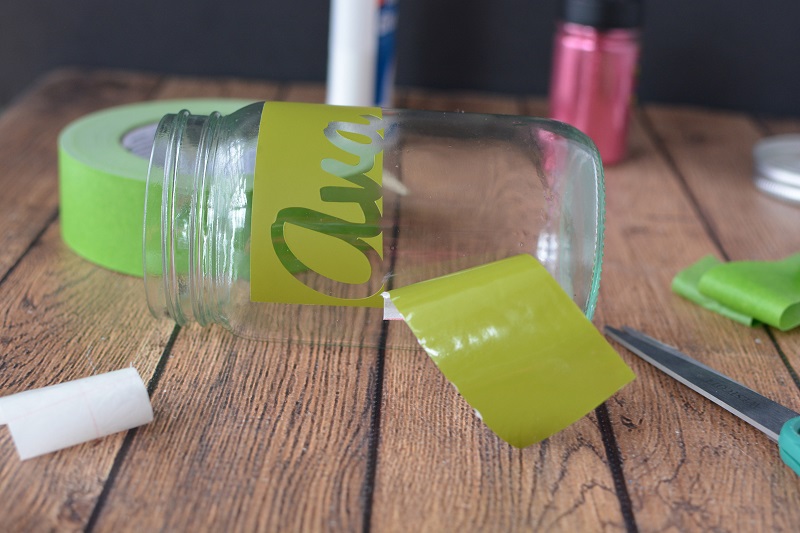
Firmly press transfer paper onto the stencil. Remove the vinyl backing and place the stencil onto your jar. Press firmly to adhere and remove the transfer paper.
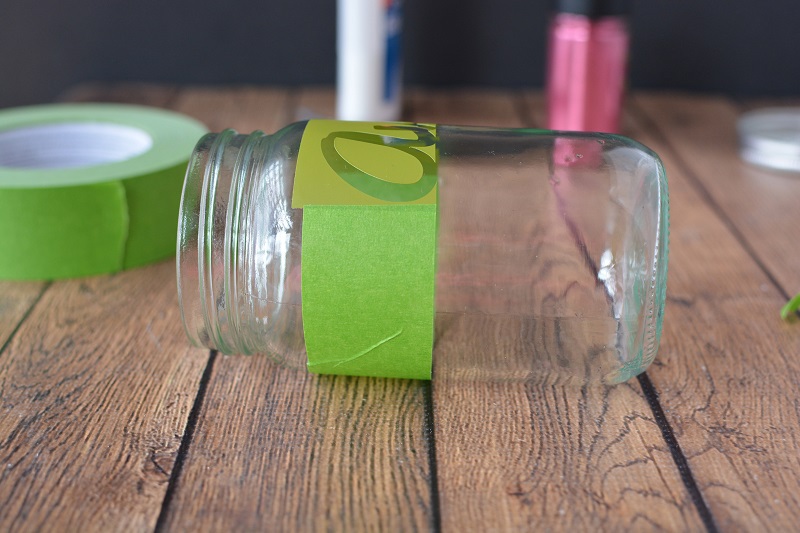
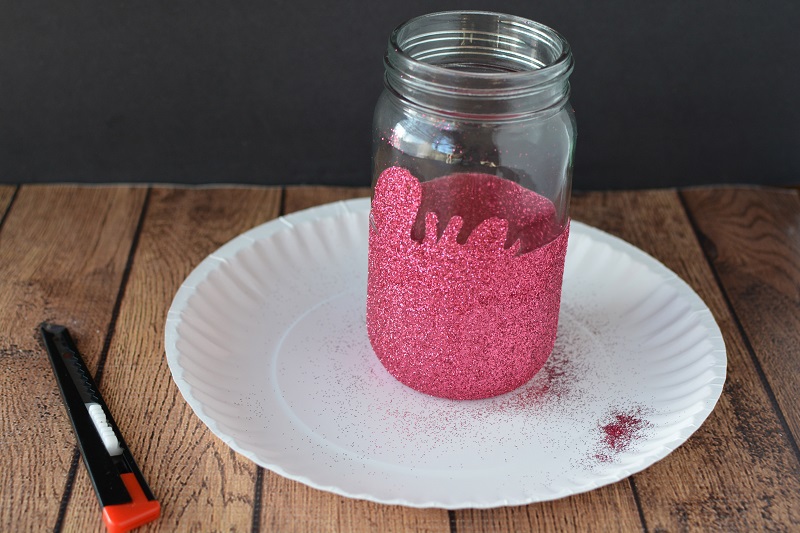
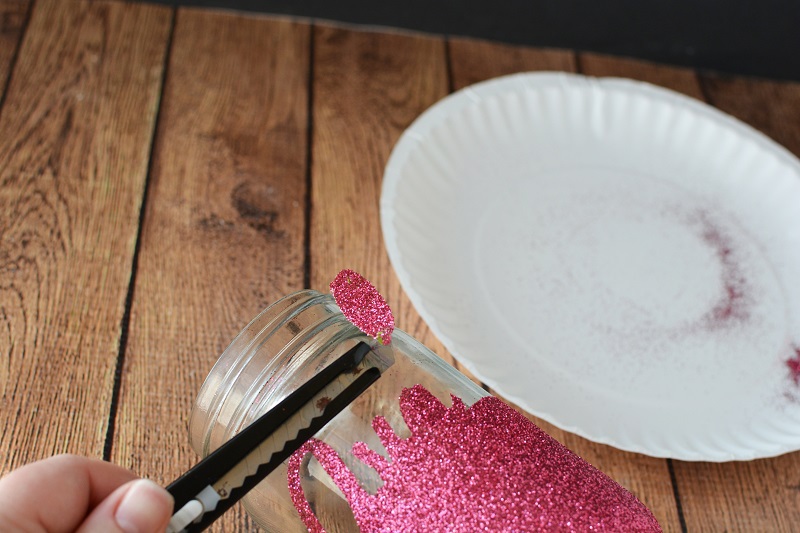
I wanted the text to blend in with the glitter, so I cut the bottom of the stencil with a utility knife and removed the stencil.
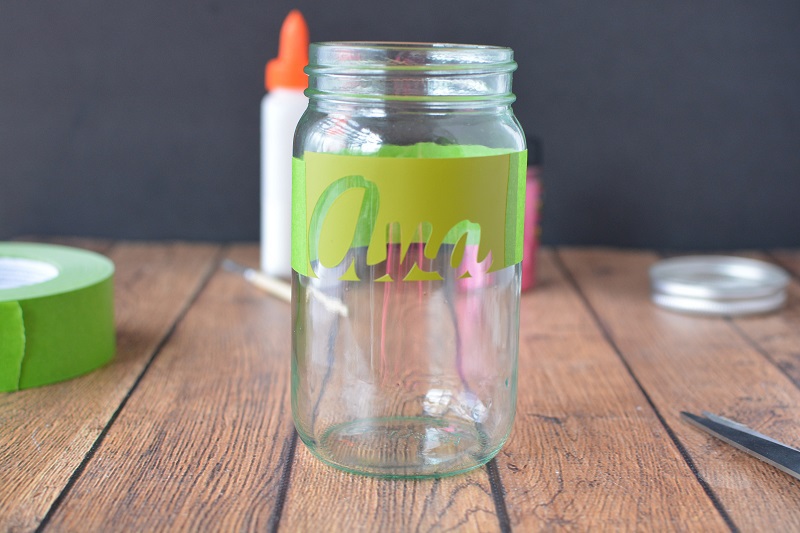
Place painter’s tape around the jar, to create the line I discussed earlier. Smooth the tape and make sure the edges are secure.
Smooth the vinyl stencil again, just in case.
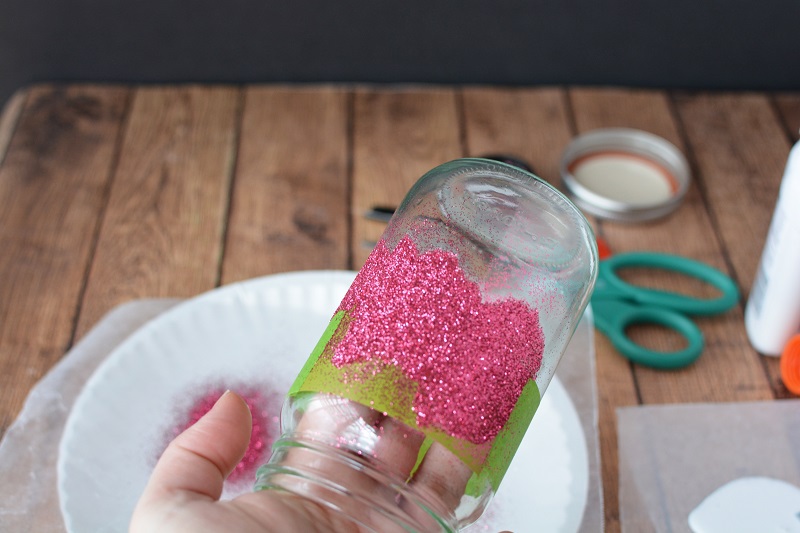
Use a paintbrush to apply an even coat of glue to the jar.
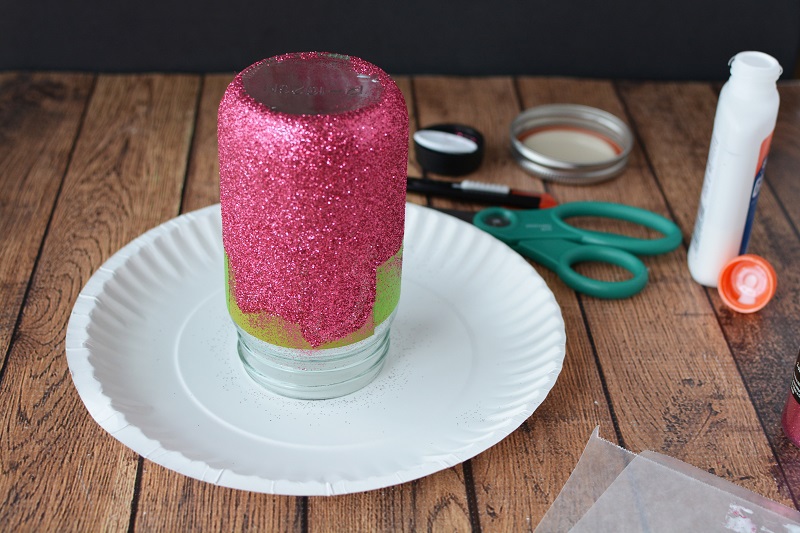
Don’t use too much glue that it begins to run. Sprinkle with glitter and shake off excess.
Repeat until you have the entire jar covered in glue and glitter.
Let dry overnight.
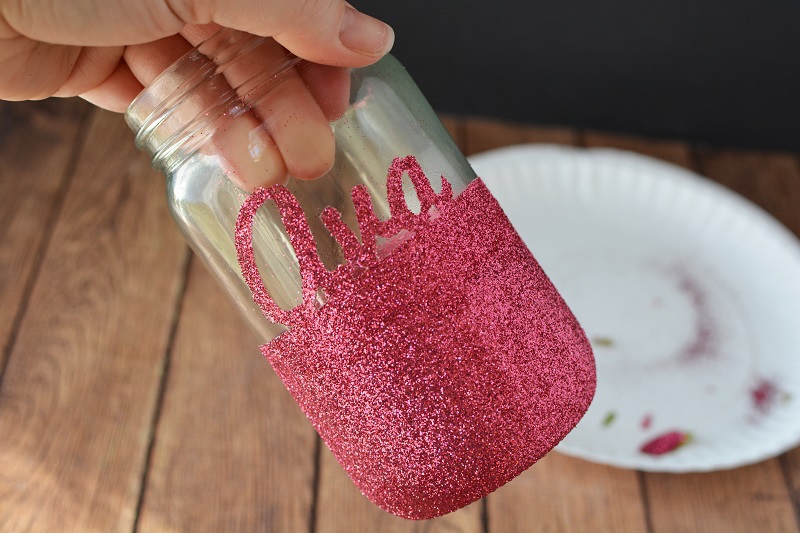
When dry, remove the painter’s tape.
Gently remove the stencil. To remove the center stencil pieces, use your utility knife to puncture the vinyl and lift it away from the surface. Do this gently and slowly to ensure even removal.
Once all the stencil is removed, place the rim on your jar and fill with your favorite items.
More DIY Ideas
DIY Margarita Glasses | Mason jars aren’t the only things you can DIY with a little ingenuity and patience.
How to Paint without Tape and Paint Edges without Tools | Tape seems like it is mandatory for painting but there are ways around it.
DIY Wine Rack Ideas for Wine Lovers | Wine lovers will love you if you made them a wine rack for their bottles and glasses.
How to Make a DIY Lighted Wine Bottle Craft | Wine bottles have multiple lives, first as a delivery system for wine, and then as a night light or decor piece.
Easy DIY Butterfly Feeder Tutorial | Bring the butterflies to you this spring and summer with the help of a feeder that attracts them from far and wide.


