Microsoft Sway Tutorial
Microsoft Sway is a tool that allows you to bring media to life and allows you to create virtual photo albums, brochures, how-tos, and more. Combining the tools you’re used to, like Microsoft Word, Powerpoint, Excel, etc., your creations are limitless.
You can use a new Microsoft Office tool that helps with presentations called Sway. Like many new applications, Sway is cloud-based, meaning sharing your creation is very simple across all social platforms.
Microsoft Sway Tutorial
As with any web-based app, you need an internet connection; with Sway, you will also need your Microsoft account. Login with any of your Microsoft-based accounts, i.e., Outlook, Hotmail, or Live account.
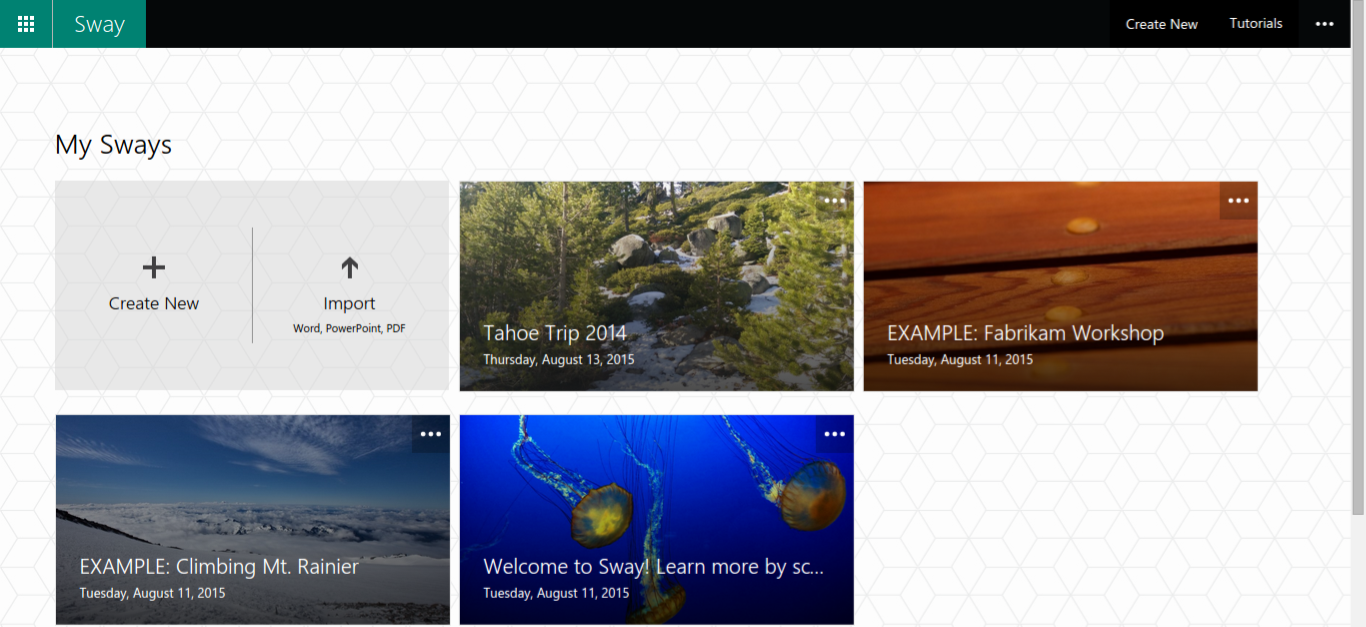
Once logged in, click “My Sways” and “Create New.”

The Layout
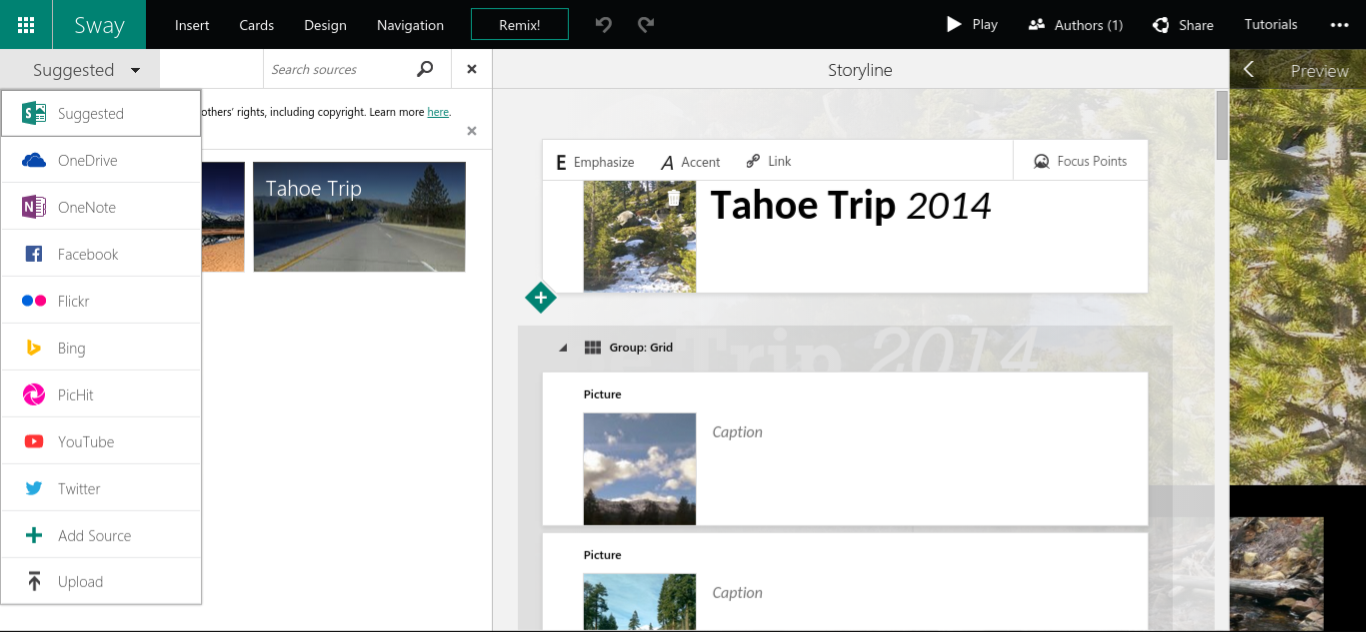
Once you’ve clicked on “Create New,” you’re greeted with a few different panels layering on top of each other. The left panel is where you’ll find different layouts and options for your creations like Text, heading, photos, and more.
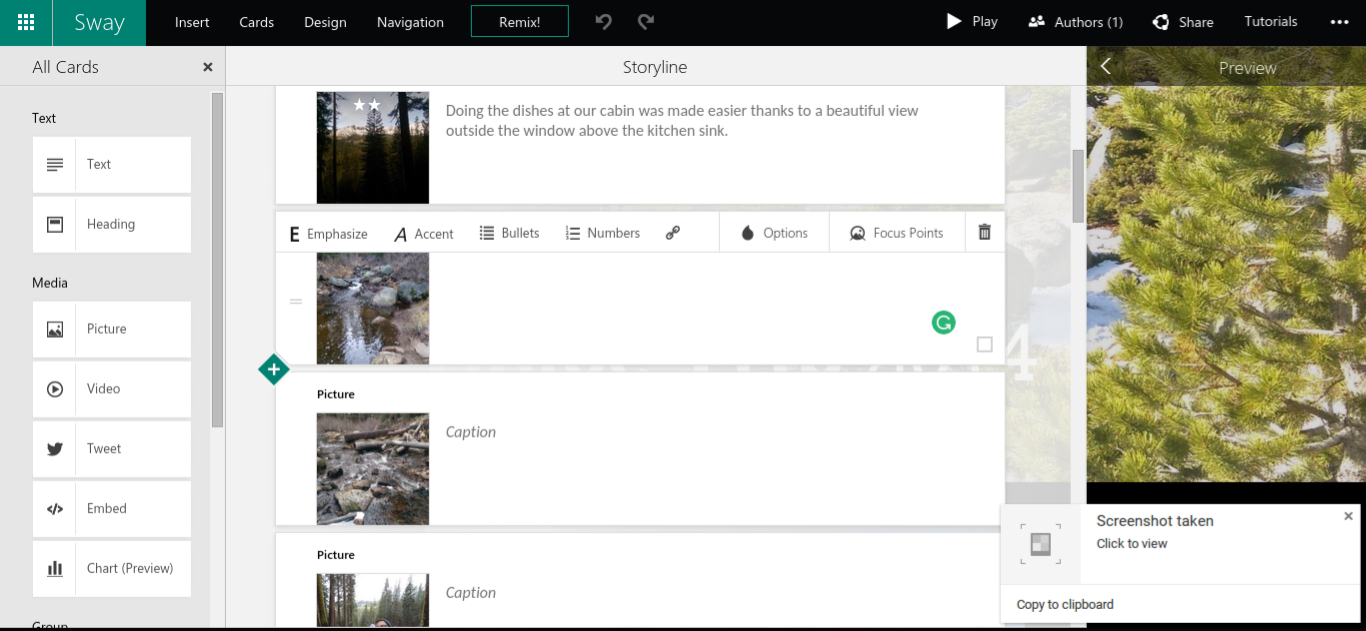
The middle panel shows you the cards you’ve added to your Sway. These cards are where you customize the media and wording for each part of your Sway. You can also reorganize these cards to make your Sway flow better.
The right panel is the preview panel; preview your Sway as you go to ensure it’s coming together as you imagined.
Your Content
Your media needs to be in your OneDrive account, on the device you’re using, on your social media accounts, or on any of your Microsoft Office tools.
If the media you want is already in any of the above places, just click “Insert” and then on the drop-down menu marked “Suggested.” Find the source of the media you want to add and click it, then add any of the media files you want.
These will be the meat and potatoes of your Sway. You can add photos, videos, Excel spreadsheets, calendars, and Word docs; you can even add maps and emails.
Editing The Appearance
Each Media file you add to your Microsoft Sway can be added to a card in the middle panel. Once there, you can add a heading, a little story, or full text.
You can also change the layout of the image, so if you want the photo to be the background of your text, you can do that, turn them into a stack of photos and videos with text in between, and so much more.
The number of cards is endless, which means you can add as many photos, videos, texts, etc., as you want.

The Text
The text you add to each card can also be edited. You can emphasize a specific phrase, word, or even letter. Emphasizing the text will bolden the text and make it stand out.
If you want the opposite, you can do that as well. Even adding hyperlinks to the text is quick. One of the things you’ll notice about the text is that Sway will automatically place it somewhere that makes sense, though you can change this if you like.
Even the color of the text is made to compliment your Sway based on the colors in the media files you’ve added.

Sharing your Microsoft Sway
Since Sway is a web-based app, sharing is super easy and straightforward, especially inside Microsoft Edge. Simply share it on any social media platform or create a link you can share with family, friends, or coworkers.
You can even create an embed code that will allow you to embed the Sway into your website or blog. Sway is meant to create media that will transform your method of sharing and is part of Windows 10.

You cannot only share moments in your life but also create brochures for your business and presentations for work and share them with everyone who will be attending your meeting.
The possibilities are endless and only limited by your own imagination; how about a new type of Wedding invitation or birthday card? Anything is possible with Sway by Microsoft.
Below, you can find a little Sway I made for the post. It’s an example of what could be done, but not of everything; please keep that in mind.

More Technology
Amazon Fire TV Tips and Tricks | Your Amazon Fire TV has a lot of different capabilities. Are you using them all?
100 Things to Try with the Amazon Echo Show | The Echo Show is still one of the best smart home assistants available.
Otterspot Wireless Charging System Things to Know | Otterbox is known for making strong, sturdy cases for smartphones. But cases aren’t the only accessories we need.
Activities for Kids Before Electronics | Technology is important and does a lot for us, but that doesn’t mean we should be using it all of the time.
What is the Difference between Otterbox Cases? | Did we mention how well Otterbox cases are made?