Easy DIY Butterfly Feeder Tutorial
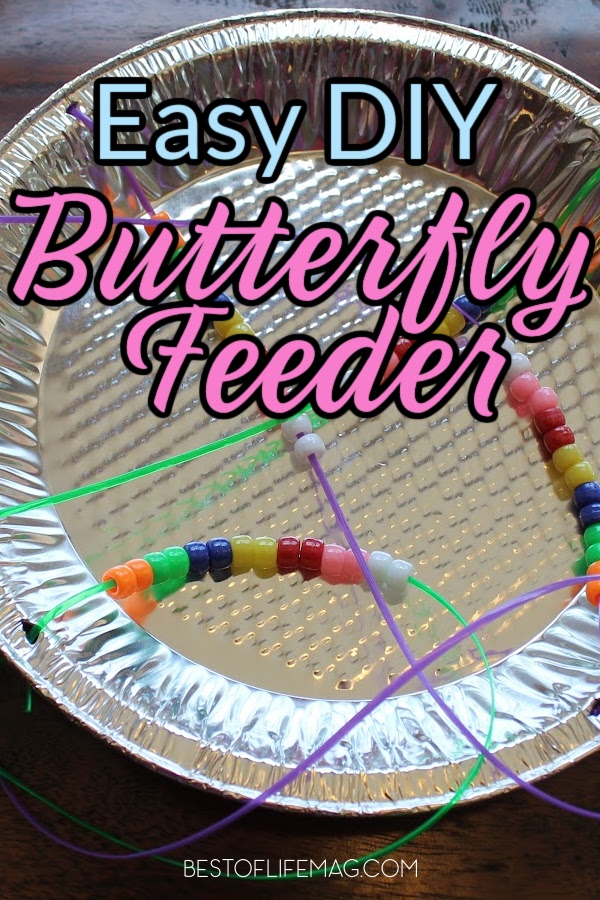
This easy DIY Butterfly Feeder Tutorial is an engaging way to teach your family about the magic of butterflies, science, counting, and patterns. It can even a be special way to remember old friends.
As springtime approached, I noticed the sweet butterflies drifting into my yard. My family and I love butterflies, and they also have a special significance.
As I began researching butterflies, I discovered this fantastic idea from a Pinterest Board. Butterflies signify new beginnings, among other things; draw the beautiful creatures to your yard with this fun DIY Butterfly Feeder!
This craft is very easy to make, and the kids will love it. Even the idea that they might attract more butterflies to your yard makes the kids happy.
But the fun colors, the beads, and the string make it a fun craft for the kids. They can use whatever colors they’d like, which means the butterflies enjoy the same colors your kids do.
Not to mention, the supplies you will need are very affordable. You won’t need to be too concerned with the budget for this summer activity.
The first step is an easy one: just gather the supplies. After that, you can set some time aside to allow the kids to make the butterfly feeder. One way to keep their creative juices flowing is to allow them to do it with little help from you.
You can make a butterfly feeder beforehand, show them, and then allow them to create their own. Supervision would be required during a couple of the steps, like cutting the holes in the tins.
But they can do the rest with just a little supervision from you. The idea isn’t to give them a craft activity to keep them out of your hair, though that would work.
The goal is to let their creativity take the wheel.
Easy DIY Butterfly Feeder Tutorial
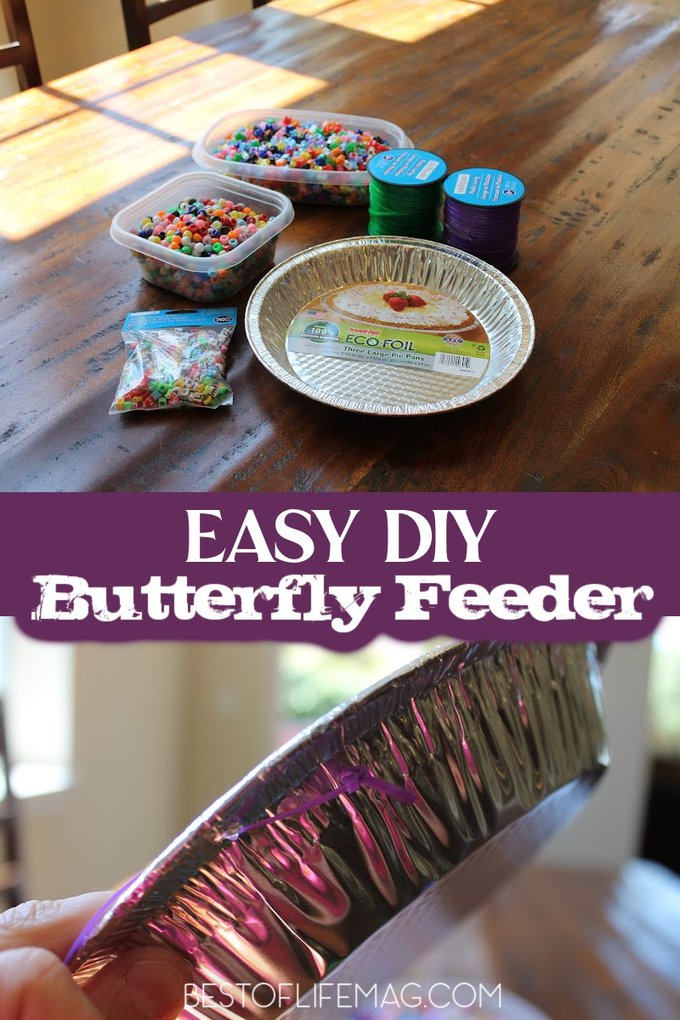
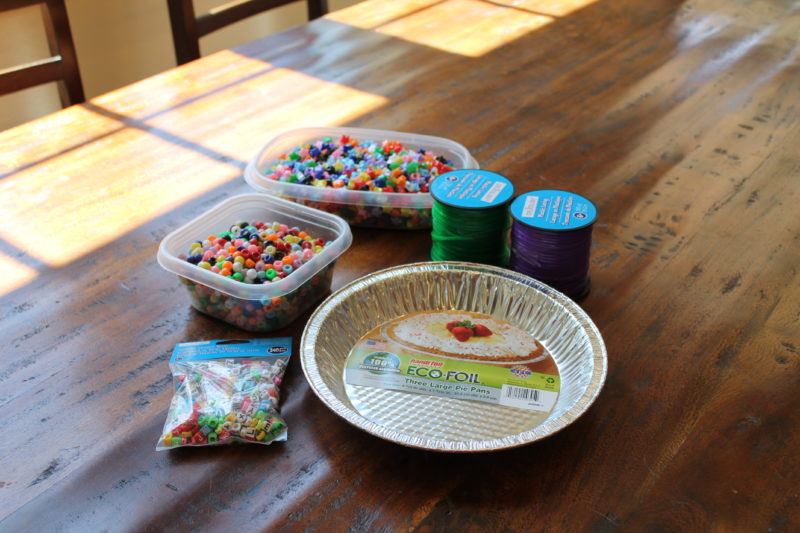
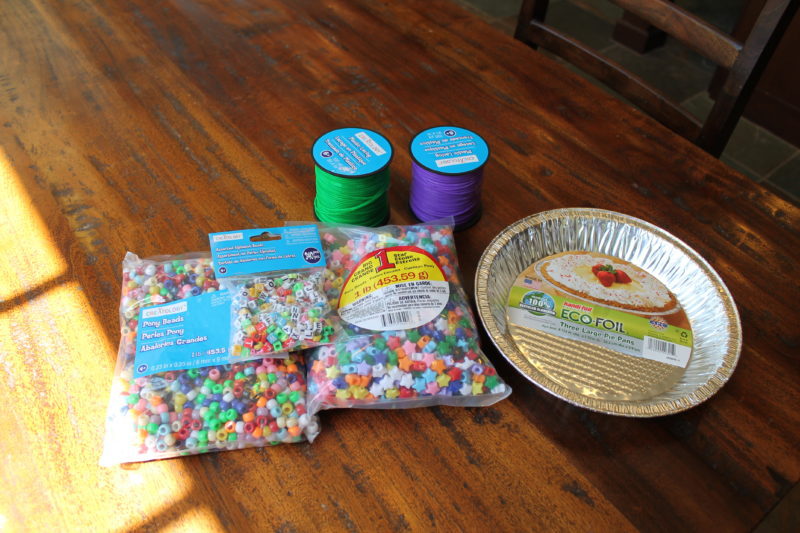
You won’t need much to put these feeders together; they are relatively basic. But basic is exactly what we want from a craft that is made for kids.
There are a few notes on the supplies listed below before you get to shopping. The beads can be any type of need, so long as they’re colorful. You can use any shapes you’d like or stick with the basics.
- A Pie Tin
- Plastic Lacing String (assorted colors)
- Plastic beads (assorted bright colors)
- Alphabet Plastic Beads
- A Hole Puncher
- Various cut-up fruit (i.e. oranges, bananas, etc.)
DIY Butterfly Feeder Directions
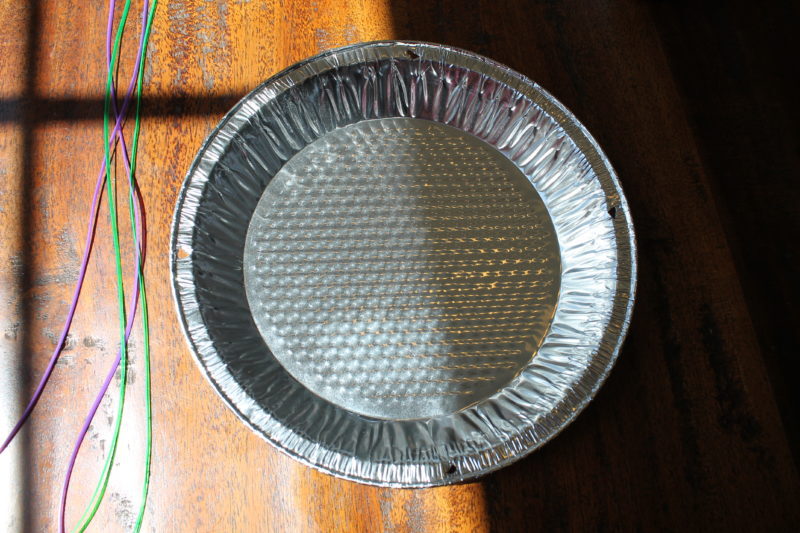
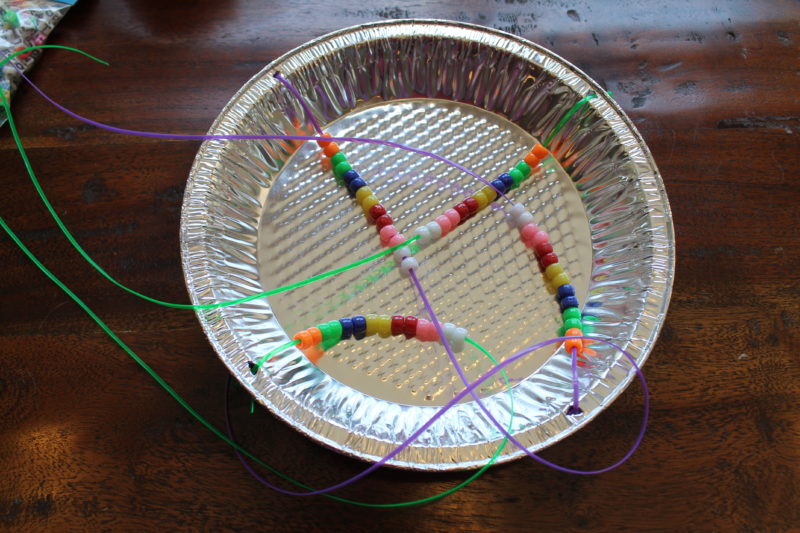
Punch four even holes in the pie tin
Measure and cut four pieces of plastic lacing string (about 18 or more inches.
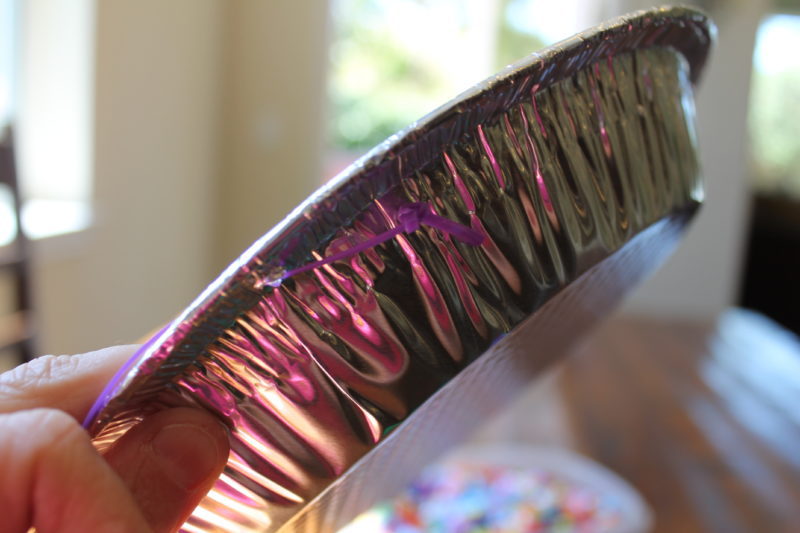
Insert the string through the hole in the pie tin, then tie a big knot at the bottom so that the beads do not fall through the pie tin.
Create a pattern with the beads to a desired length on each string. Keep in mind that butterflies love bright colors.
When finished, bring the strings together and tie them at the top.
Cut up fresh “butterfly fruit” and hang the feeder in a desired location.
Watch for butterflies!
For my family’s butterfly feeder, we added names of special people in our family’s life because we wanted to find a special way to honor them and remember them in a meaningful way. Some additional ideas might be to include your children’s names, write a special note, etc.
As always, when you create this and any craft together, let it be a wonderful opportunity to listen and enjoy your family.
More DIY Ideas
DIY Wine Rack Ideas for Wine Lovers | Not all DIY projects are meant for kids. Some are meant to help us store our wine.
DIY Burlap Wreath for Fall | Summer fun eventually comes to an end. Then, it’s time for cozy fall decor.
How to Paint without Tape and Paint Edges without Tools | Have a paint project in mind but don’t want to get all of the supplies?
DIY Margarita Glasses | When was the last time you enjoyed a margarita from a glass you made?
20 DIY Patriotic Decorations | Summer is the perfect time to start putting out patriotic decor.






2 Comments